Emil Ruder

Who Was Emil Ruder and why is he so important? 
Emil Ruder was a swiss typographer and graphic designer that is mainly known for helping Armin Hofmann develop a design style known as Swiss design or is often referred as International typography style. This style is known for its elements such as using grids, the use of sans serif typefaces and its asymmetry look.

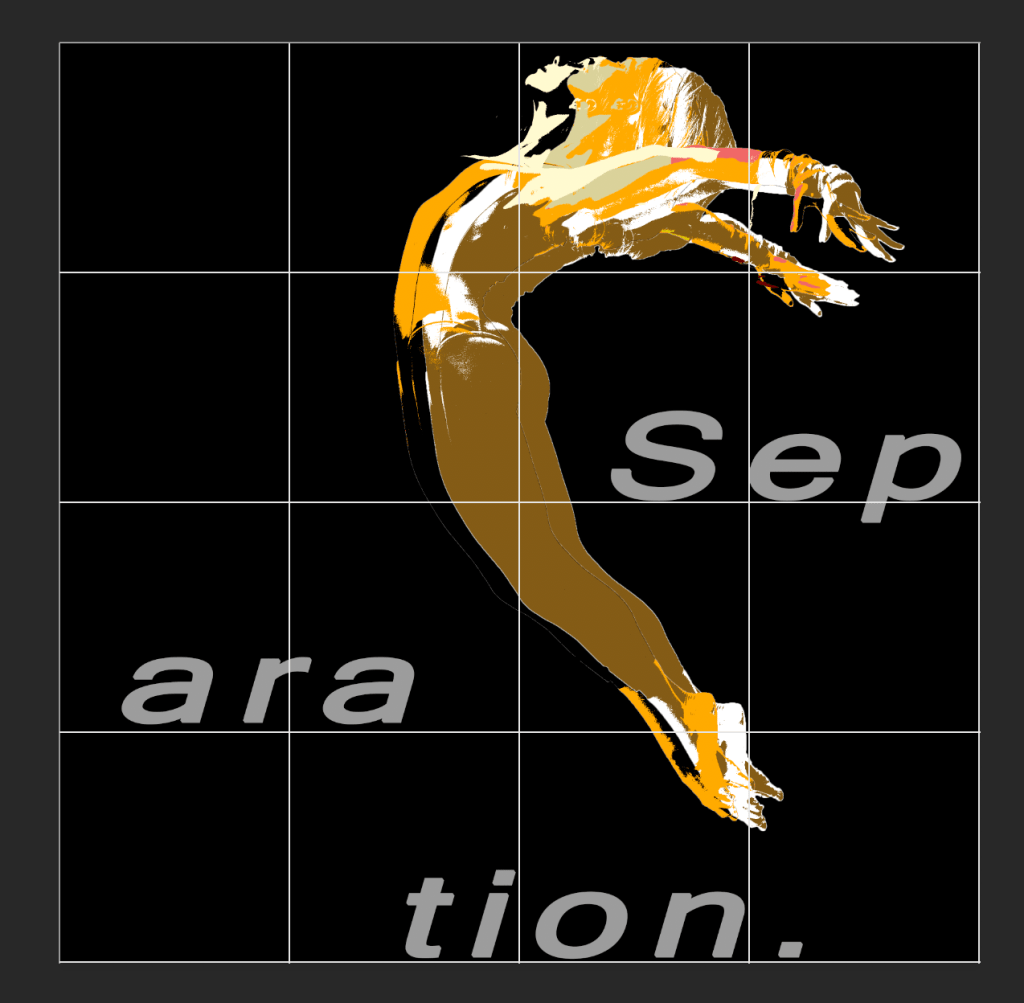
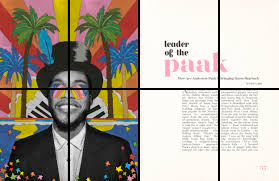
Emil was born in Switzerland in 1914, he thought that the purpose of typography was to convey messages through writing. He favoured asymmetrical designs and the use of sans serif typefaces. His work in the 1940s and 50s helped shape Swiss Design into what it is today. For example his use of grids really influenced the design of web. He wasn't alone in developing Swiss design as he worked with Armin Hofmann, helping him form the Basel school of design. I have tried to make this blog post in the Swiss Design as best as I can to try and show the main elements of Swiss Design.

To understand how much of an impact Emil was you need to understand what is Swiss design and how important it is in todays design. Swiss design can be broken down into 3 main elements.

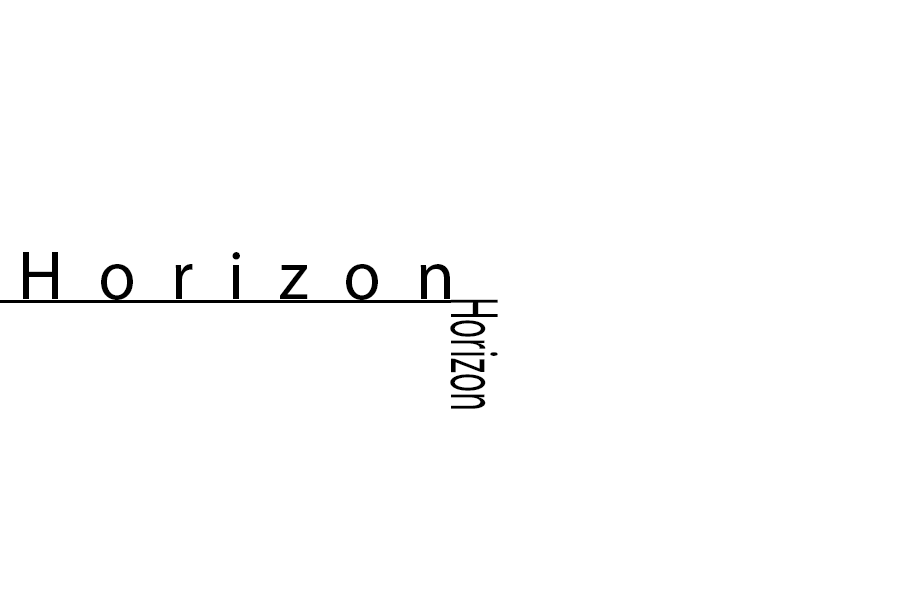
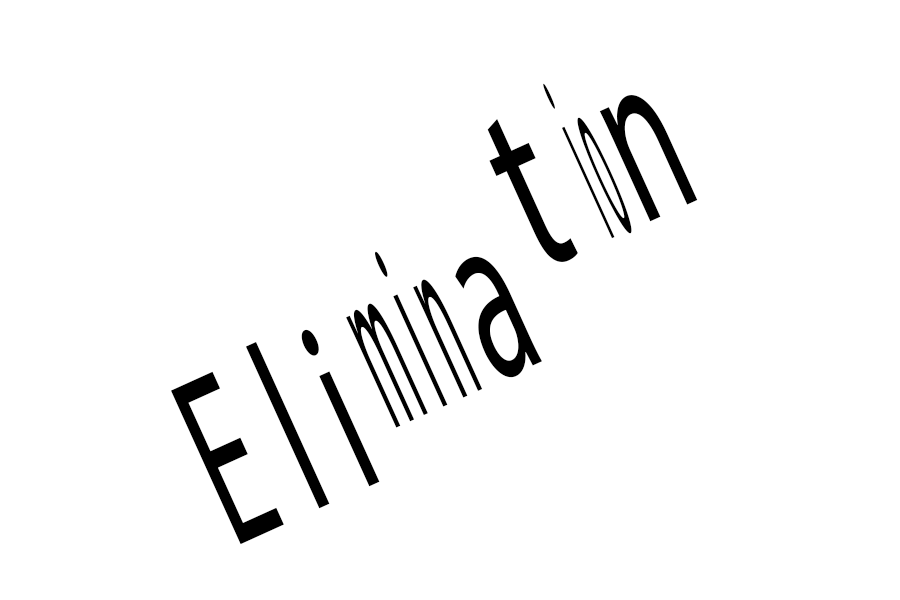
The First is asymmetry, symmetrical design is often pleasing on the eye as it is seen to be neat and safe.

Asymmetrical design however is the opposite,

being dramatic and sporadic.

This can look messy however which is why combined with the next element creates a more clean look. What is the next element? Grids. The use of grids helps control the chaos of asymmetrical design by keeping order and neatening it up. The grid system is aliening your design to match a grid so things match up.

This system is still taught today and is used heavily in todays web design.

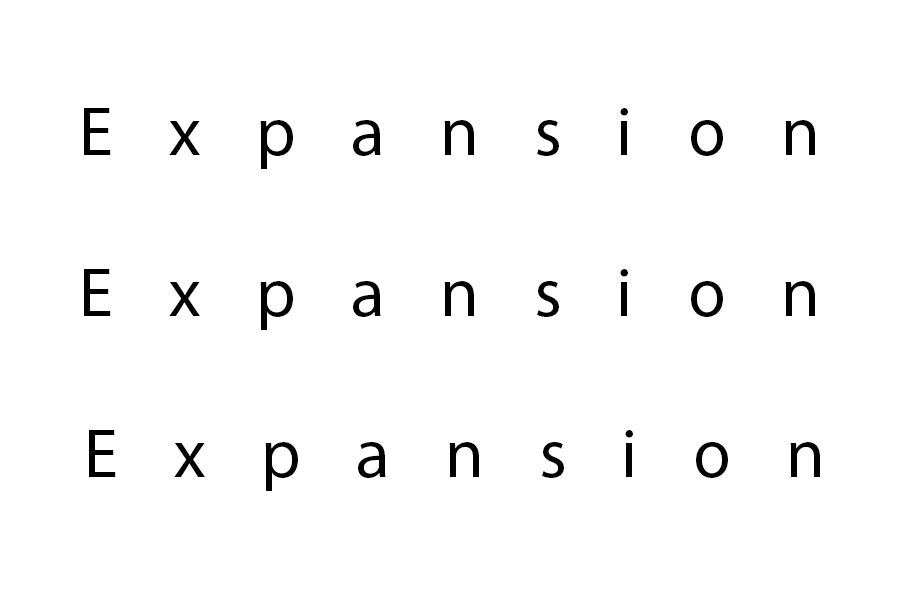
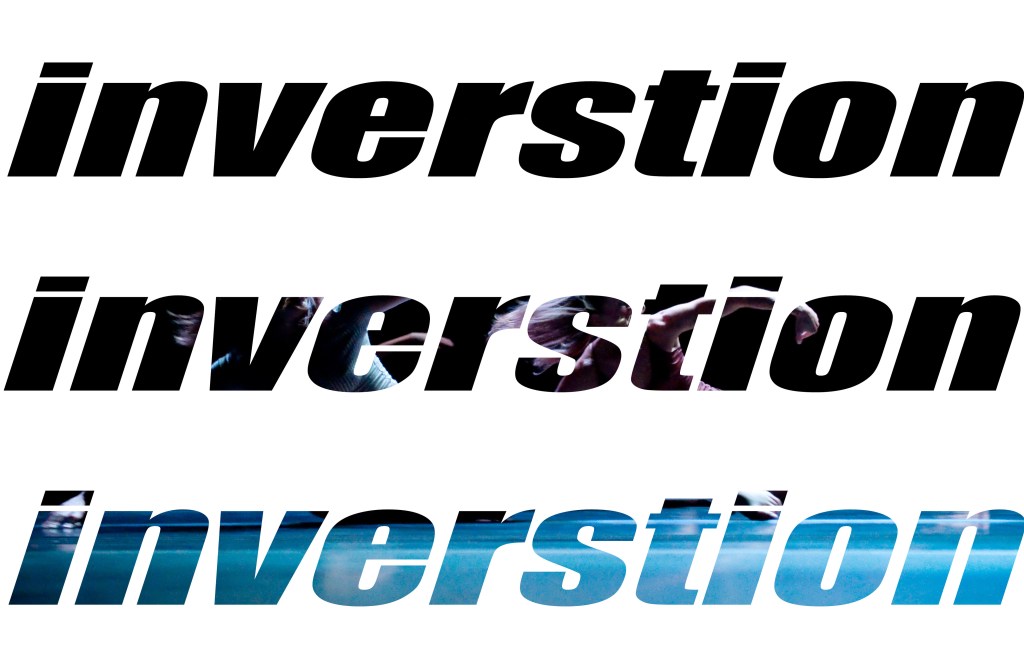
The final element is the use of sans serif typefaces, the heavy use of sans serif typefaces is still relevant today. what is a san serif typeface? well the one you are reading right now is a sans serif typeface. A sans serif typeface is a font that does not have extending features. For example…
This is not a sans serif type face.

But this is.

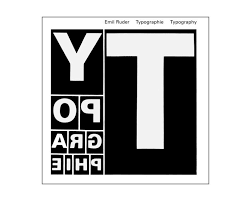
This is the cover Emil Ruder’s book ‘Typographie‘ I really like the look of this as you can clearly see that he has used all the elements that make Swiss design great and timeless. It wouldn’t surprise me if someone told me this was made within the last 5 years yet it was made in in 1967 and by this book haven 6 reprints shows just how much of an influential this piece this is. The asymmetrical blocks that is clearly following a grid with sans serif font revealing the title backwards is the true embodiment of Swiss Design.

This is another one of my favourite pieces of Emil Ruder as it also perfectly incapsulates the Swiss design. I love that the background almost looks like paper that has been folded up and unfolded. This gives us a literal grid to look at. I also love how each section has something different in It and each section is not crowded there is only one thing per section with the 2nd to the bottom section having nothing in it at all. This along with the off centre text makes the piece more dramatic and asymmetrical.

Final task

This is my final task, I choose this picture to update as I felt that this image had the most potential. I changed the colour to a mono colour scheme as I like the look of mono colour schemes. As I looked into Emil Ruder and Swiss design I wanted to create something similar. The gridded image is shown below showing how I wanted each part that conveys something in a different section. I made the women off centre as I wanted to give it a asymmetrical design. The text follows the grid with each part of the word resting on the bottom of the grid. To do this I adjusted the leading of each part of the word to match with the grid. For the woman I felt that it would be good to drag the layers out so they don’t match up quite right to give the feeling of asymmetry. I learnt that negative space can play to your advantage so I wanted to leave the top left corner open. I really wanted the view to focus on the girl so I broke down the layers so it would catch your eye more. The black space in the top left corner also helps as that is one of the first places a person looks. As there is nothing there your eye natural follows along the page as you would be reading and leads to to see the girls face. I feel like it came out amazing as I have really learnt a lot about how to design.

The original.

Colour Theory

For this design, I looked at a colour wheel and found that pink and this shade of green were opposite colours not normally being paired together. Knowing that opposite colours are complementing colours I wanted to use them in a design to make the articles stand out, by using pink which is the boldest colour out of the two it pulls both colours together creating a complexion for the design. Using a light green made the articles pop out a bit more as well as using an intense pink for the background it draws attention to the centre, which is what I wanted to achieve giving the article a quirky finish.

For this one I wanted to use a mono colour scheme commonly known as a foundational colour which is taken from a single base and extended using its own shades, tones and tints. I like the look of mono coloured scheme because I wanted to start off dark in the background and get lighter towards the middle to draw your eyes to the article. I wanted this to be mono coloured as its easy on the eye and not to harsh. An advantage of using a mono scheme on this design is because of the different shades of blue it gives a welcoming finish due to the variation of colour and gives an aesthetic finish.

Despite using the mono coloured design, I felt that blue wasn’t the right colour for the website because, I felt like green would match the logo a bit better and overall give a more welcoming feel as well as a professional standard as dark colour can come across as not inviting. One limitation of using a mono coloured design is it be confining because the colour scheme can be seen as a poor fit and can be quite muted. I did not want to recreate the idea of having the outside dark and then gradually getting lighter towards the centre because I didn’t feel like the articles stood out as much as the first colour scheme that is why I made the most vibrant colour be the background which makes the inner column pop out more. I did the same with the articles to make them stand out and look more appealing.

Looking at a lot of websites, I felt a mono colour scheme that uses black and white worked well because I wanted to create a professional finish as black and white is a common pair. I wanted to recreate this look because I feel it looks very modern and warming. I wanted the middle column to stand out, so I made the background white. I then started by making minor adjustment to the articles. I found that light grey adds a quality finish to the article, wrapping in all the colours to bring together a neutral feel.

Tracking Leading and Kerning


Here is an example of a news story that has been edited to show tracking, tracking and kerning. The first 2 lines has very tight tracking which doesn’t look good and is hard to read. The 3rd line shows a good amount of tracking its not to loose or not too tight. The 4th 5th and 6th line are an example of text being too loose. The First 6 lines are an example of bad leading as the lines are too close together. The 6th to 12th line is am example of good leading as it is well spaced and easy to read. The last line is an example of both good and bad kerning. The first word “but” is bad as the learning is too close together. The last two letters of unfortunately are an example of to loose kerning. The last word of the story shows good kerning as it is easy to read and nicely spaced.

With expansion I wanted to create space and I wanted to show that Expansion is big yet is open. That is why I have made it so there is a lot of space in between letters. I wanted to go with a minimalist design as when I think of expansion I think of an open area and not a cluttered mess.

When I think of a horizon I think of a big open landscape. Thats why I Wanted to put space in between each letter in horizon. I wanted to use the side of the H as the underline with the second horizon going down. I did this because I wanted make it seem like there is literally something on the horizon. I made this horizon short with not much space between letters as it is opposite to the upright horizon.

For repetition I wanted to show how even in the word there is repetition. I turned the ‘titi’ red so it would stand out more. I also had the word in a array down the screen with the ‘titi’ being more spaced out with each one. I think this sam out well as the bold red text shows clearly what I was going for.

For elimination I wanted to distort the image using leading tracking and kerning to represent it being eliminated. I think this worked well as I wanted to distort the word but not so much that you couldn’t read it as then the word would lose all its weight.

Visual hierachry

The main 3 things your eyes are drawn too. The big 58% off is what you eye is drawn to because its big text thats surrounded by a lot of blank space making hard to miss its interning how one of the biggest things that catch your eye isn’t even about any news its an advert, This is really good advertising as it is very hard to miss when going onto the website. then your eyes are drawn to the headline as its bold and in blue text. This stands out because of its colour being bright blue and its position being right in the centre taking up a lot of the screen. finally the big daily mail online logo in the corner because we tend to read left to right. This is put there as most website put their logos in the top left corner so that is where most people look. It is a way of finding out quickly what website you are on as you are able to identify the logo straight away.
The main 3 your eyes are drawn too. The first place your eyes are drawn too is the top story thats on the left and blown up big we see this because of how big it is and because we read left to right. The second place you look is the logo in the top corner just to help you know where you are as most website have there logo in the top corner. The 3rd place you look would be the bottom as its filled with colour and it show you there is more below the fold.

The first thing that catches your eye on this page is the bottom right corner art. People tend to first look at faces if they can see one. I like the use of the picture going over the border as it really grabs the attention of the viewer.

The first thing you see when you look at this page the bold picture in the top right corner as its background makes it pop out of the page. The second thing you see is the 3 smaller pictures at the bottom as its they are the only image that has no background making it stand out.

The first thing you see is the picture of the man on the left shouting as it takes up a lot of space and has a bold background. This draws your eye to it first as there is so much blank space around the picture. the second thing your eyes are drawn to is the thing he is shouting which is opposite him on the other page and your eye naturally follow the image. I like how this is done as it is incorporating images with text to guide the viewers eyes in a certain place. The third thing you see is the Big title in bold text as it colour pops out of the screen and its bold text really makes it hard to miss.

The first thing you se is the huge picture in the middle as it takes up so much of the pages. Its also right in the centre. The second thing you see is the Title in the top left corner as its bold and we normal looks up at the top left hand corner as we start reading from the top left. The third thing we see is the paragraph in between the picture and the title as we have seen both the picture and the title so we tend to have a look whats in the middle which is the writing.

Seperation, fusion, fragmentation and inversion.

Seperation

Separation means to split something up, so I wanted to separate the image into 4 colours. I choose a black background as it is empty and shows that the focal point of the image is separate from everything around It. I then copied the image on 3 layers changing the threshold at different points for each layer. Once I did that, I went onto colour range and deleted all other colours that wasn’t black. Then I changed the colour of what was left in each layer starting with the white base. Then red for the mid-tones and blue for the highlights. I wanted to do this as it was separating the image into colours.

Fusion

For fusion I wanted to fuse the image with the writing. I did this by wrapping the word around the back of the male dancer and by the male dancer holding the O. I did this by cutting copying the layer onto two layers and cutting the layers to it looks like the text wraps around them. I wanted the text to look more curved however I wasn’t able to do this effect as every time I tried it didn’t come out right.

For invention I wanted invert the text so it was hollow showing the image underneath. I did this by first putting the image I wanted to see through the text on the bottom layer. I then filled in a whole layer in white and wrote insertion 3 times. I then cut the text out leaving the image to show through. I liked this effect however the only weakness is that you can’t see the image underneath that well. I tried different ways to see if I could fix this like making the font bigger however it didn’t look right.

When I think of fragmentation I think of broken glass. I wanted to get this effect however I also wanted it to seem elegant as the picture is of dancers. I didn’t want to fragment the image so much that you couldn’t see what was going on so instead I cut a section out and enlarge it. I really like how it came out so I even did it on the text. The only weakness I have is that I which I could of maybe made it look more like fragmented shards of glass however I don’t know how I would of done this and still been able to understand whats going on In the image.

Grids

This grid is interesting as it is hard to spot and embraces the asymmetrical feel of the Swiss design form the 1940′-50s. I like how the middle 3 grids are taken up by the main focal point in the image and by two paragraphs. I also like how the top and bottom pictures on the left hand side both take up 4 sections in the grid. it gives the page less of a chaotic look.

The girds in these pages are not easy to follow as it was hard to find the grid. Im not a fan of how this was designed. It feels very messy and I feel it could of been better if just straightened some things up to fit the grid better.

I like how on this page each piece of text has its own section in the grid. I also like how the middle text is broken into two sections which mirrors the picture above it having each person In a section of the grid. I have learnt that grids help make a magazine page look more appealing and that when making a book or magazine you should definitely use grids to your advantage.

I like how this grid is not complicated and has a simple design. I like how there is something different in each section.